
For my 30th birthday party, I chose to wear a fun yellow dress. I couldn't figure out how to accessorize a ruffly yellow dress. While I love the look of high heels, I simply adore the style and comfort of fun flats. I like flats in all colors, especially prints.
Even though it seems like a yellow dress doesn't need more color, I really wanted shoes with a colorful print. I did some internet browsing and just couldn't find what I was looking for. So, I decided to make my own!
I was inspired by this tutorial here.
Here's a sneak peek at the finished shoes:

And here's how I made them...
Supplies:
Shoes
Modge Podge
Fabric
Sponge brush
Sharp scissors
Clips
Pins (optional)
Fabri-Tac (depending on your shoe style; see how I used it)
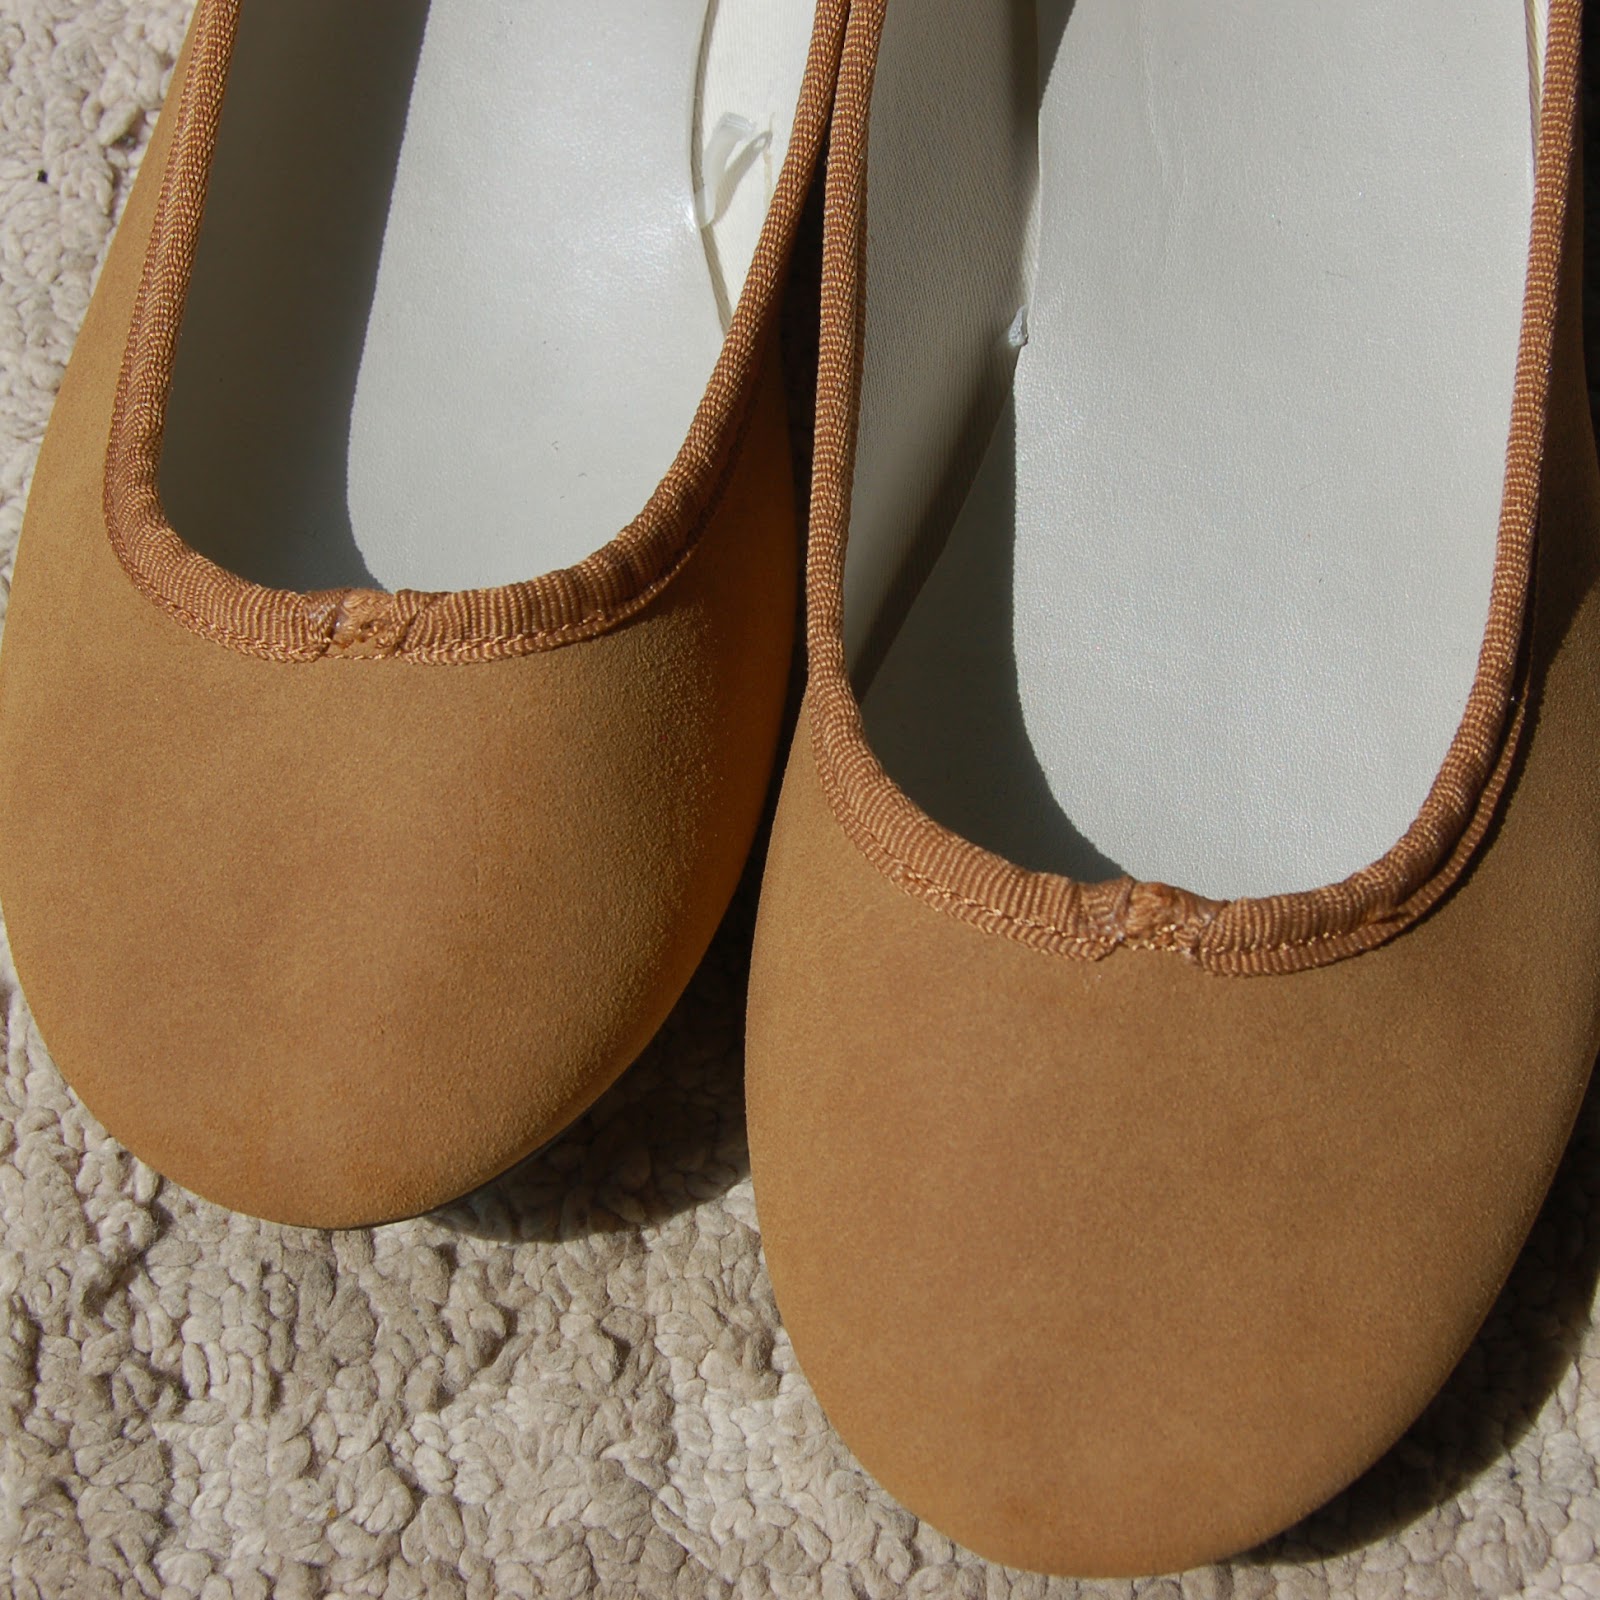
I used a pair of shoes that I had purchased on clearance at Walmart a couple of months ago. You know, they were cheap and ugly and I just figured I could do something with them. I lucked out because I wear a size 9.5 but these size 9 shoes fit me. I don't remember the exact price I paid, but I'm sure it was $5 or less.

I also picked up some Modge Podge from Hobby Lobby using my 40% off coupon (did you know you can just show it to them on your phone instead of printing the coupon?). I chose the matte finish.

I had a few fabric options that I liked with the yellow dress.

I love this fabric, and it's flowery and springy, but I have already used it on a project I keep meaning to share with you:

This fabric is amazing, and it was recently given to me by a friend. But the print is such a large scale that I wasn't sure how to place the design on the shoes:

So, I decided on this fabric:

I LOVE the flowers on it, and I think the color scheme is fantastic: dark chocolate background with flowers of yellow, red, and light blue.
I started by untying the bows on the shoes.

I cut most of the strings off and got out my handy-dandy Fabri-Tac.

I glued down the ends of the strings in the little opening where the strings originally came out.
I stuffed two grocery bags into the toes of each shoe to help them hold their shape and not collapse as I worked on them.
I played around with the fabric placement on the shoes until I figured out where I wanted the fabric designs to end up on the shoes. Then I cut two pieces of fabric, each larger than a shoe.

I knew I wanted a big yellow flower on the front of each shoe and a red and blue flower on the outer side of each shoe. So I stuck a pin in each flower to keep the fabric lined up how I wanted it.
Then I made a cut starting at the back of the fabric and ending about 1/2 inch from the front opening of the shoe.

Then I started adhering the fabric to the shoe. I applied a generous coat of Modge Podge to the front of one shoe using a sponge brush.

I pressed the fabric over the front of the shoe, smoothing it as much as possible.
I continued spreading Modge Podge and smoothing fabric down one side of the shoe.

Then I did the same thing on the other side of the shoe.

The back of the shoe has a little folded over seam. I glued down the fabric from one side of the shoe, cutting the fabric right on the seam line. Then I trimmed the other piece of fabric so I could fold it over and glue it down over the first piece of fabric (did that make any sense?).

Next I had to trim the bottom of the fabric so it just met the sole of the shoe. This was a little tricky. I found it easiest to run my fingernail along the shoe/sole seam to create a crease in the fabric. Then I cut right along the crease. I don't think there's any way to get this part perfect {gasp!}, so just do your best. Be sure to apply Modge Podge along the edge to adhere your newly trimmed fabric edge near the sole.

By this point, my hands were so covered in Modge Podge that it was difficult to take pictures!

Next I trimmed the top of the fabric so there was 1/2-1 inch above the top of the shoe.

You can see the grocery bags in the toes of the shoe to keep it from collapsing while I applied the fabric. At this point I removed the bags for the next step.
I also cut slits in the fabric near the curve of the shoe, making sure not to cut all the way up to the edge of the shoe.
Then I applied Modge Podge to the inside of the fabric along the sides and back.

Then I pressed the fabric to the inside of the shoe (along the sides and back).

Then I applied Modge Podge to the back side of the fabric near the curve (with the slits in it) and pressed this fabric to the inside of the shoe.

I could see that the fabric wasn't sticking completely inside the shoe, so I used clips to hold all the fabric in place while it dried.

Lucky for me, I have an obsession with office supplies, so I had plenty of clips to go around where I needed them.

I let this shoe dry overnight (I don't think it needed that long...I just couldn't get back to it until the next day!). I used all the same steps to cover the other shoe with fabric.
Let me interject a little note here. The first shoe took a long time, was very messy, and was a little frustrating. I was a feeling discouraged. But the second shoe went much more quickly and more smoothly. I had a better idea of what I was doing, and I learned that I needed to use more Modge Podge than I thought I should.
After the first shoe was dry, I tried it on. Ouch.
The back of the shoe was pressing into my heel so bad that I knew I'd never be able to walk around in these beauties. It was past the point of the pain I'll endure for fashion.
I was thinking I had done all this work for nothing. And I was back to not having cute shoes to wear with my yellow dress. But I had an idea. I figured it wouldn't hurt to try this.
So I pried off the folded over piece of fabric from the back of the shoe. Then I used heavy duty scissors to cut a slit in the back of the shoe.

I replaced the folded fabric (moved over slightly) with some Modge Podge. Now the top edge of the back of the shoe was a little wider. I tried it on to test the fit.

Ahhh. That's better. If the shoe fits...wear it to a birthday party with a fantastic yellow dress!
To finish off the shoes, I applied a coat of Modge Podge over the entire fabric surface. Yes, that is a glob of Modge Podge on my thumb.

As I walked around my house in the finished shoes, the top coat cracked a little making white marks in the clear coat. Sigh. So many imperfections to embrace.
Here are the final shoes:


Yes, that is a bright pink princess chair in the background. No, I didn't take the time to edit it out. :)
I have bookmarked a few other shoe redo tutorials that I want to eventually try:
So grab some old worn out shoes or snag some cheap ones, and make something you love!
Jessica
this is very cool. well done and i definitely want to give this a go too!
ReplyDeletexx
www.atipsytart.blogspot.com
lovely!!!!
ReplyDeleteThere's number of tutorials on the web like this, but I like this one the best. I'm glad you mentioned about the cracking at the end too. I'm thinking I might use different products other than modpodge to adhere the fabric and seal it, that won't dry the shoe so stiff.
ReplyDeleteWould modpodge stick a cotton fabric to numbuck(spelling?!)... We're talking shoes still ... Just wondering if there would be a more suitable fabric glue, can anyone recommend? Love the blog post, thank you.
ReplyDeleteNo doubt this is an excellent post I got a lot of knowledge after reading good luck. Theme of blog is excellent there is almost everything to read, Brilliant post. totshoes.com/
ReplyDeleteI tried to cover some shoes with fabric, using ModPodge, but the fabric came out entirely. I wonder if the method only works on leather shoes--mine are synthetic.
ReplyDeleteThanks for providing valuable information
ReplyDelete