I made a big Easter dinner for my family and Jared's dad tonight for Good Friday. I cooked a ham for the very first time, and I loved every minute of planning and preparing the meal. Jared and the kids are all crazy about Jello, so I knew I needed to make Jello eggs.
I have made several different versions of Jello eggs over the years, so this year I searched the internet to find something a little different. I've done the rainbow stripes like this :
 |
| Rainbow Ribbon Mold from Kraft |
I've also made solid-colored Jello jigglers in my egg molds, cut the Jello eggs in half, and piped whipped cream where the yolk would be if they were deviled eggs. It was sort of a fun play on dessert deviled eggs.
I was intrigued by this method that uses sweetened condensed milk:
 |
| Spring Jello Jigglers from Kraft |
I ultimately decided to use this method:
 |
| Rainbow Jigglers from Kraft |
This method is really similar to how you make the opaque layers in a rainbow layered mold, but it had different ratios of water and yogurt than I've done in the past. The recipe above outlines a method for setting layers in a loaf pan, then slicing into striped layers, and using cookie cutters to cut out shapes. I ignored all that since I was using my egg molds.
Speaking of those molds, someone gave me these awesome Jello egg molds several years ago:

I have four of them altogether. Each mold has a bottom (the pointy end of the egg) and a top (the fatter, more rounded end of the egg) with holes in the top for filling. Basically, the eggs are upside-down in the molds. My little plastic "hinges" have broken because these molds are a bit vintage, but the bottoms and tops still snap together tightly.
The insides of the molds have subtle designs:

Here are the supplies I started with:

The boxes of Jello are the smaller (3 oz.) size.
I ended up using an additional box of Island Pineapple Jello as well as a box of Grape Jello. I'll explain as we go.
The Kraft recipe called for one 6-oz. container of lowfat vanilla yogurt per box of Jello. I just bought a big tub of yogurt and measured 6 oz. (which is 3/4 cup) for each box of Jello.
I started by spraying non-stick spray in the bottoms of my Jello molds (if yours are still connected, spray both tops and bottoms and then snap them securely together).
I mixed 1/4 boiling water (I just microwaved it) with one box of Jello:

Then I whisked in 6 oz. (3/4) yogurt. And I forgot to take a picture because I had yogurt on my hands.
The recipe says to then microwave this mixture for 2 minutes, stirring after each minute. I followed those directions for the first layer, but then I only microwaved the mixture for 1 minute on the next layer, and I skipped this step altogether by the last layer. I was on a time crunch! You can choose what you want to do.
I poured the blue Jello/yogurt mixture into the egg molds. I wasn't sure how many eggs it would fill. I tried to fill 1/3 of the way up the side of each egg. The problem this caused later is that the bottom of each mold holds a smaller volume of Jello since it's the pointy end of the egg. So I really should have divided the liquid by volume rather than by eye-balling 1/3 of the height of the egg.


I put the molds in the fridge to set. This layer only needed about 15 minutes to set. Each layer needs to be firm enough to support the next layer, but if you wait too long and let it set completely, the layers will separate when you unmold your eggs.
I mixed the next box of Jello with 1/4 cup boiling water.

Then I mixed in 6 oz. of yogurt. And forgot to take a picture. Again.
At this point, I sprayed non-stick spray inside the tops of the egg molds and snapped the mold tops onto the mold bottoms. Be sure that the molds are firmly closed together.

I poured the Jello mixture carefully through the little holes in the molds. I just used my glass measuring cup to heat the water, mix in the Jello, mix in the yogurt, and pour the mixture into the molds.
I tried to fill up the middle third of each egg. Since the middle section of the egg is wider than the first layer I had filled, this is where I ran into trouble. I had to make a second batch of Island Pineapple Jello (so glad I had another box on hand!) in order to fill all the eggs.

The molds are solid plastic, but I can see through them just enough to see how high up the Jello comes on each layer. I couldn't quite capture the yellow layer in this picture, but you can see what I mean:

This middle layer had to sit in the fridge for about 45 minutes to start setting. When I thought this layer was getting close to setting, I went ahead and made the next batch of Jello so it could cool a little before pouring it into the molds.
I mixed 1/4 cup boiling water with a box of Cherry Jello.
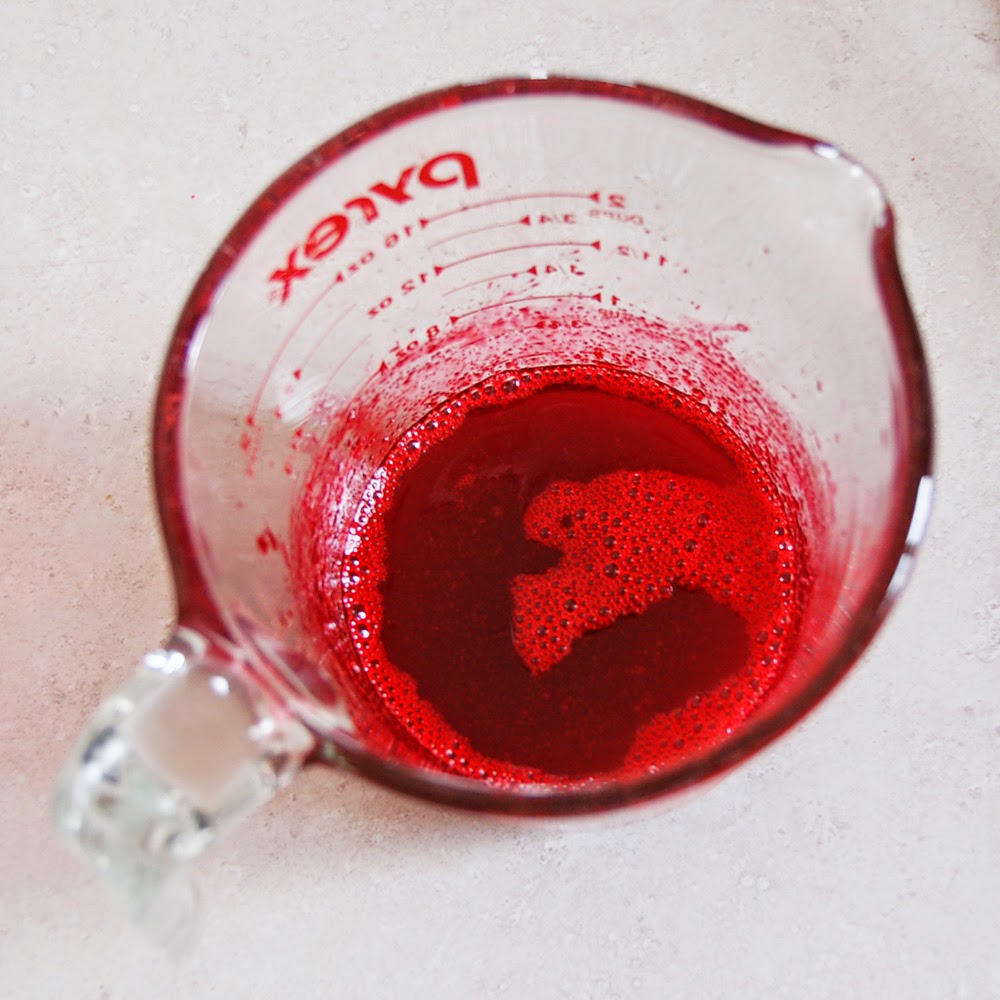
Then I mixed in the 3/4 cup yogurt. And I remembered to take a picture!

Somehow I thought that the white yogurt would make the red Jello turn pink. I was wrong. I should have known better because the picture on the Kraft website recipe actually has a red stripe. So, word to the wise: the yogurt only makes the Jello opaque, rather than making it lighter. I think Watermelon Jello is the lightest of all the red Jello flavors, so that one might be the closest to pink.
So while I was having a mental tantrum over the fact that red is not an Easter color and now my Easter Jello eggs had red in them, Nora came in to see if there was anything she could clean (i.e., lick) for me.


Of course, I had already filled the egg molds with the red layer of Jello before I let her stick her face in the measuring cup.


The red Jello wasn't enough to fill all of my egg molds, so I checked my pantry and found a box of Grape Jello. I had just enough yogurt left to pull off one more layer.
So, with five boxes of Jello and 32 oz. of yogurt, I made 21.5 Jello eggs.
These were the rejects and misfits:

Don't feel bad for them; Jared and Nolan gobbled them up.
In fact, the four-color eggs ended up being the most coveted.

I grabbed a glass platter and started arranging the blue/yellow/red eggs:

Then I added the blue/yellow/purple eggs:

Finally, I topped off the platter with a four-layer egg:

Jared said these layered Jello eggs were his favorite version so far! They had a nice creamy texture and great flavor.
So, to summarize (in case you wanna make these):
- Spray the insides of your molds with non-stick spray.
- Whisk together 1/4 cup boiling water and 1 box (3 oz.) of Jello.
- Whisk in 3/4 lowfat vanilla yogurt.
- Pour mixture into egg molds.
- Let molds set in refrigerator for 15-45 minutes, depending on the thickness of each layer. Jello in the molds is ready for the next layer as soon as it no longer shifts when you tip the mold.
- Repeat steps 2-5 for each flavor of Jello until your egg molds are full. Let filled egg molds chill for at least 2 hours (overnight is best).
- To unmold, simply open up your egg molds by pulling the top and bottom apart. Thanks to the non-stick spray, the eggs come out fairly easily with just a little coaxing.
Jessica